This is the first time I have posted on Aunt Zhang. What's wrong, please forgive me.
Before due to emergencies, the notebook was equipped with a secondary monitor. It was cheaper to buy. However, now I have a PC at home. However, because I am in the magic, I have a lot of money. It's not easy to win 2 squares with LD. Computer desk site. Then the monitor became a tasteless. As the place is too small. The monitor holder is preferred. But the old monitor does not support. Used for sale. Hanging salted fish 500 nobody wants. Of course I am more than 800 It took a year to buy the money. Then use it, take up the place. Buy one again, this one is idle again. Hi.
RemodelingIn line with the principle of saving (mainly LD does not give pocket money), think before thinking. Decided to create a bracket for this display.
The specific model of the monitor is:
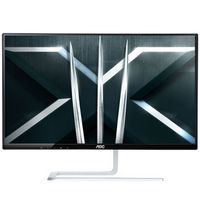 AOC Blade 5 I2281FWH 21.5 inches AH-IPS wide viewing angle narrow border LCD monitor (HDMI) 779 yuan Jingdong to buy
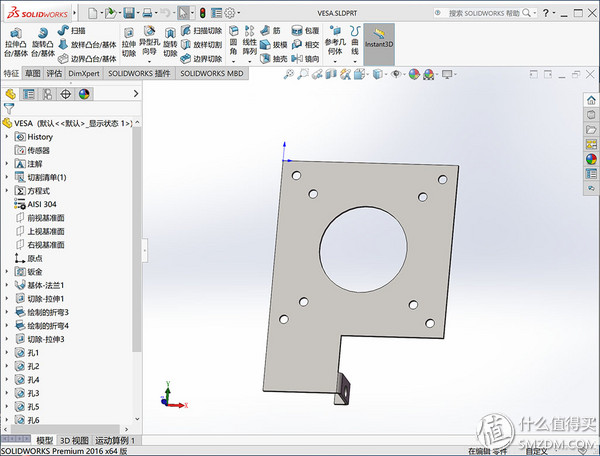
 Studying this monitor, it should be possible that any monitor with a stand (it looks like all monitors have a stand) should have a stress point. Then from this point of force, a panel supporting the vesa bracket can come out. All After disassembling the monitor back cover, look at it. Be decisive. Be a non-standard accessory. You can only use CAD to get a part out. Replace this bracket. CAD has heard. But never used. Go to learn a CAD design tutorial. Download a Solidworks This is a very convenient part design. After 2 days of learning, you can draw a non-standard part. The next step is to find a processing plant. Choose 2mm. 304 stainless steel material. This feeling can support the weight of the monitor, take a look at this novice part:
Once the parts are in hand, they are installed immediately. The details are very simple. Take a screwdriver and you need a few small wrenches. Use your hands to open the rear plastic plate of the monitor. The clips are fastened.

Remove the circuit board
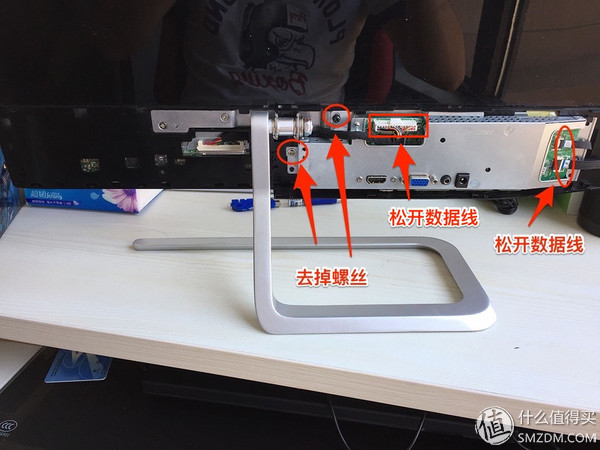
Remove the original bracket
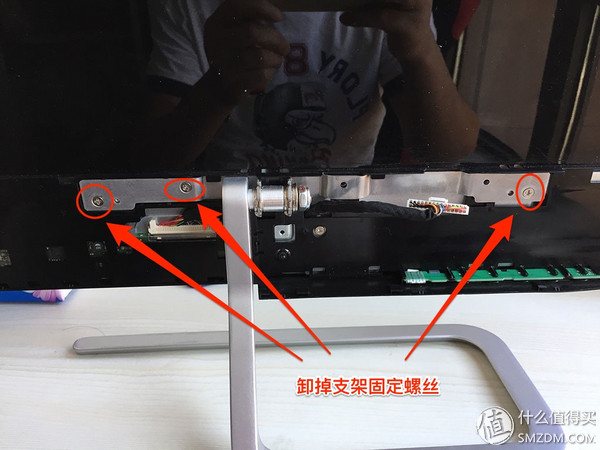
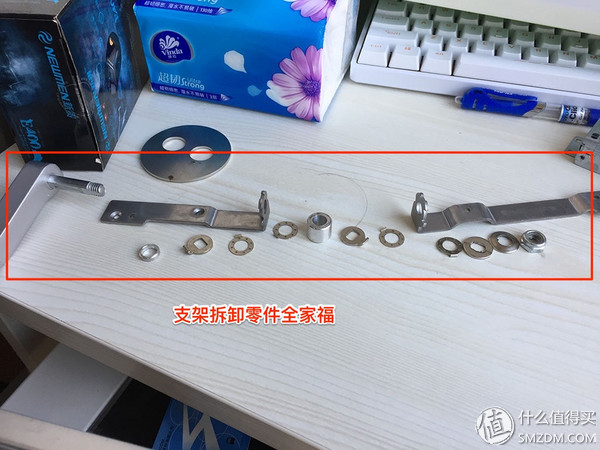
Prepare to decompose the original stent
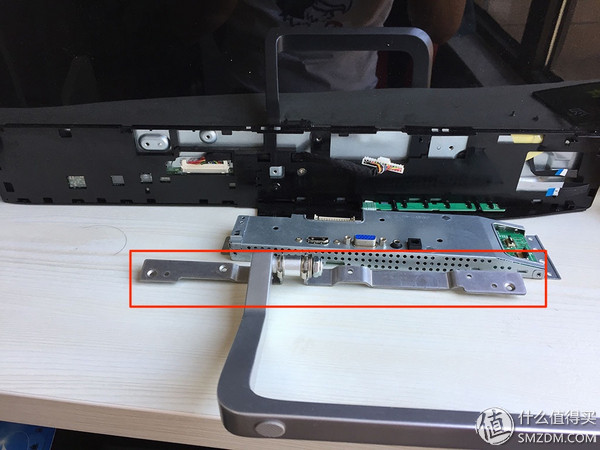
Compare my own parts. Probably installed
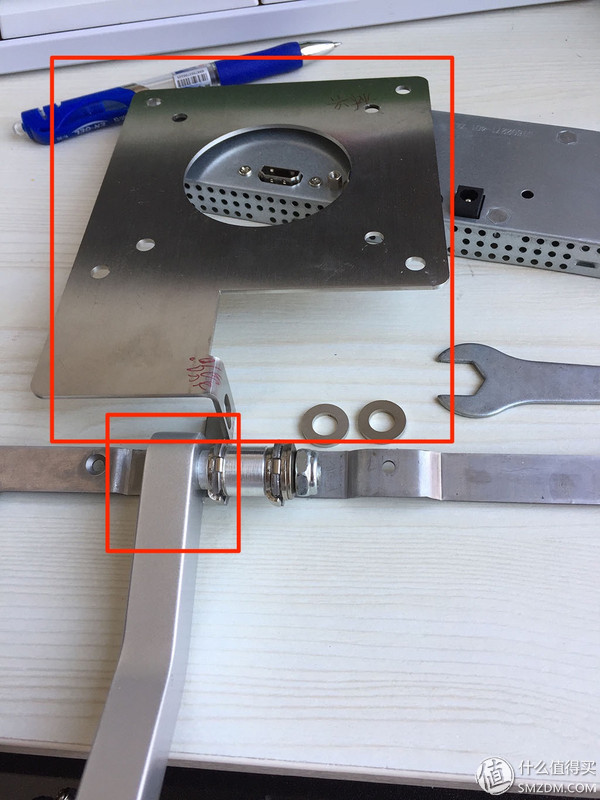
The original stent was dismembered. Hahaha.
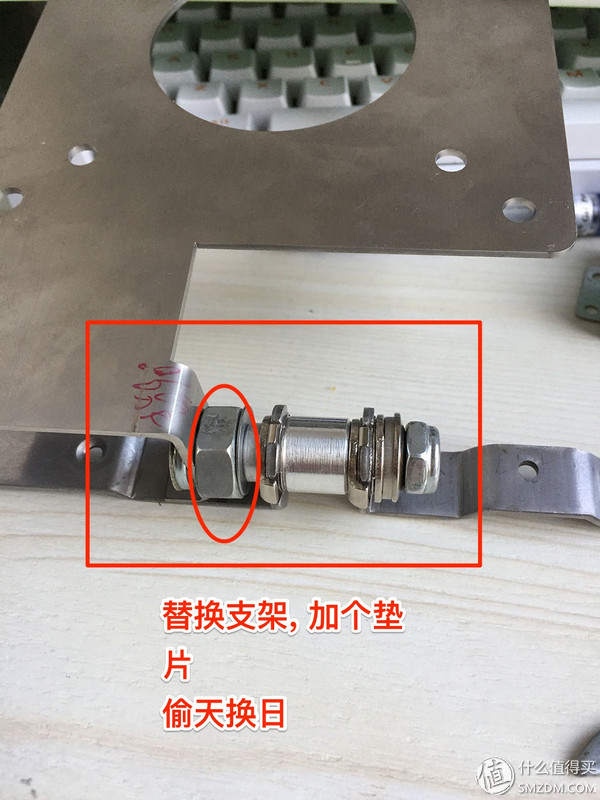
Replaced by my own designed parts. Since the original bracket was compared, then I made the part only after 2mm. After the original bracket was about 10mm, I went to the construction site to find a bigger nut as a gasket. On the top. Slightly worse It's ok.
Mount the bracket back to the monitor
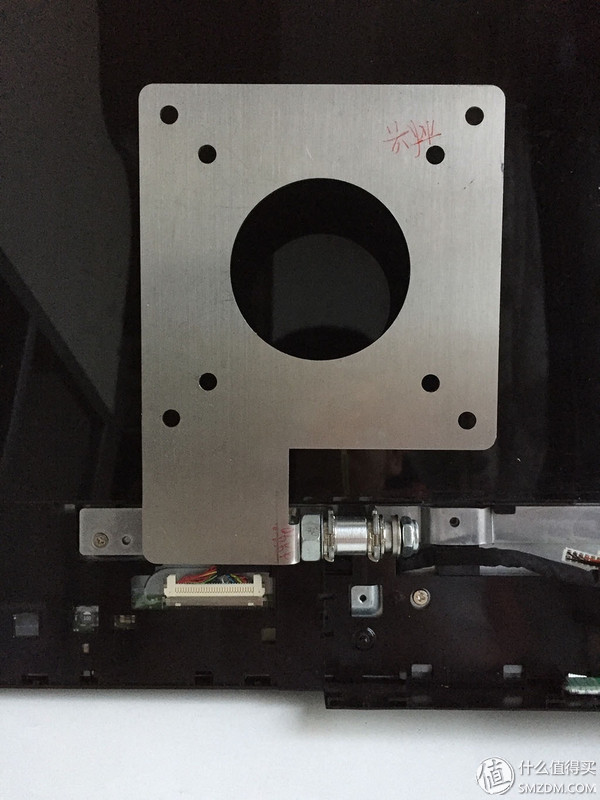
Recovery Control Board
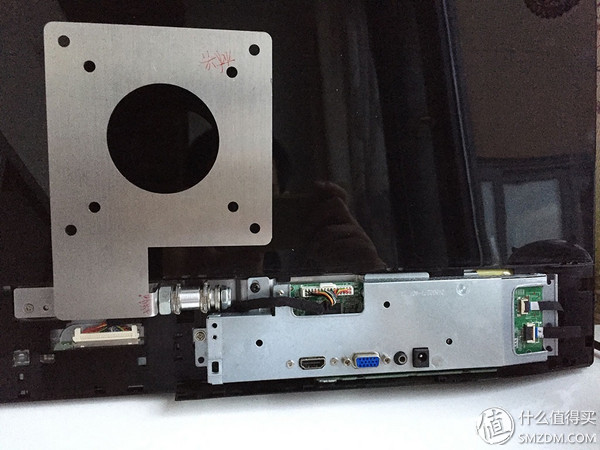
Cover the monitor plastic cover.
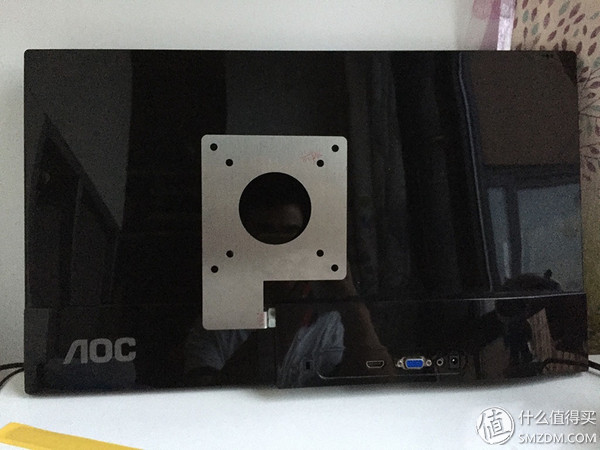
Basically just fine. Next to buy music brother bracket installed. I designed this part when supporting 75mm and 100mm 2 kinds of bracket hole spacing. Use 100mm hole.
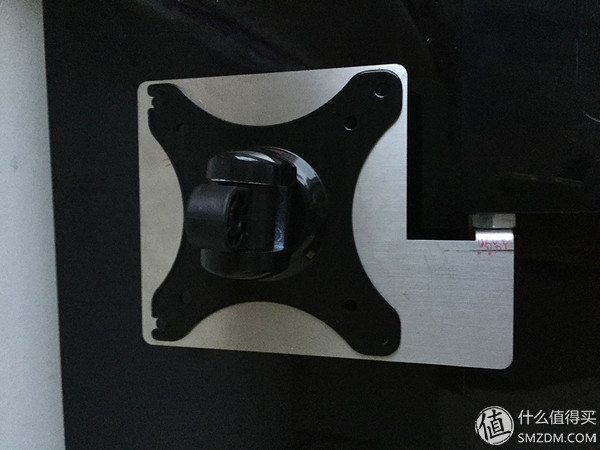
Install the monitor back to Lego bracket.
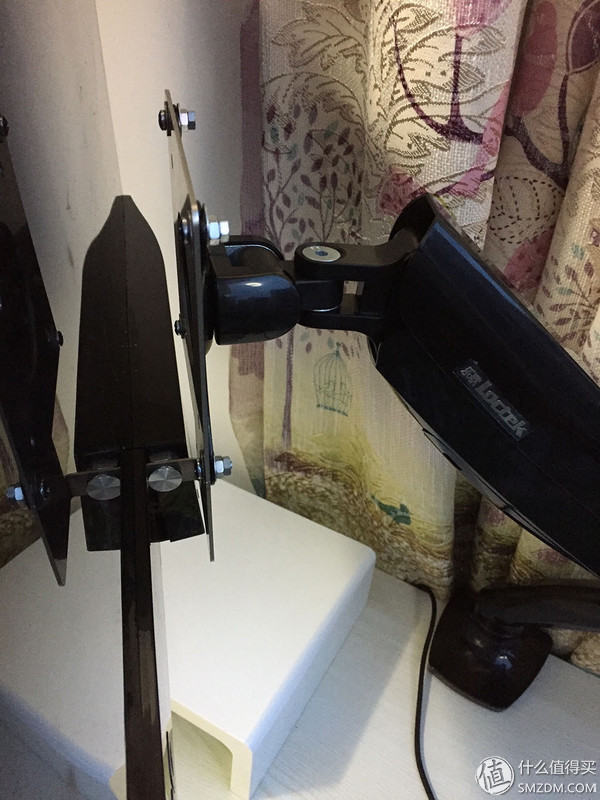
Complete manual remodeling here. Come to a positive look.
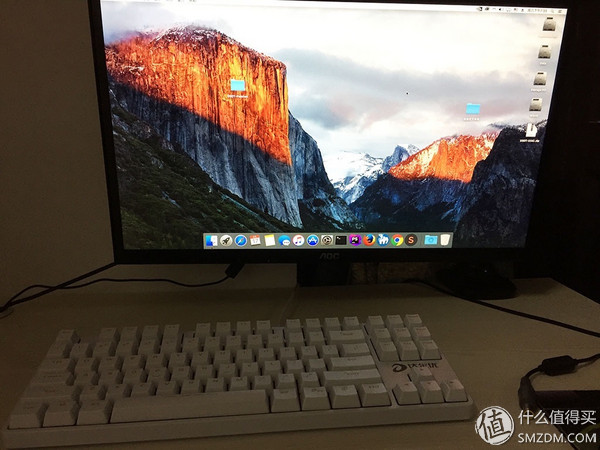
Underneath the monitor can be used without the original bracket on the desktop. The keyboard can be plugged down. Here can give the children homework what's up.
Summary articlesSince the first time you engage in this stuff, you will encounter some problems. If there are also friends that you want to remodel, I suggest going to the hardware store to get some screw nuts or something. What are the washers? Spare. Sometimes there is one less 2 screws , very troublesome.
Posted for the first time. The renovation cost is not expensive, but this tossing process is still very interesting. Thank you!
Acrylic Aquariums,Desk Acrylic Tank,Small Acrylic Aquariums,Appearance Acrylic Aquariums
Sensen Group Co., Ltd.  , https://www.sunsunaquariums.com